




Tap to zoom
Tap to zoom
Tap to zoom
Tap to zoom
Tap to zoom
Tap to zoom
Tap to zoom
Tap to zoom
Tap to zoom
Tap to zoom
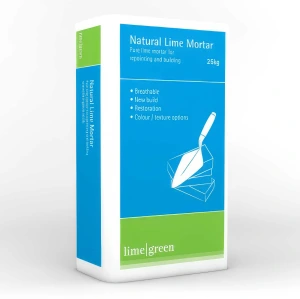
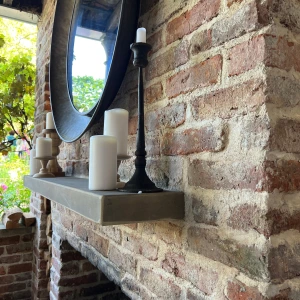
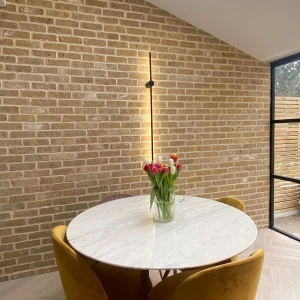
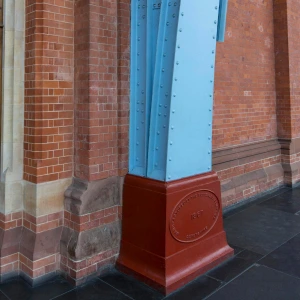
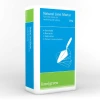
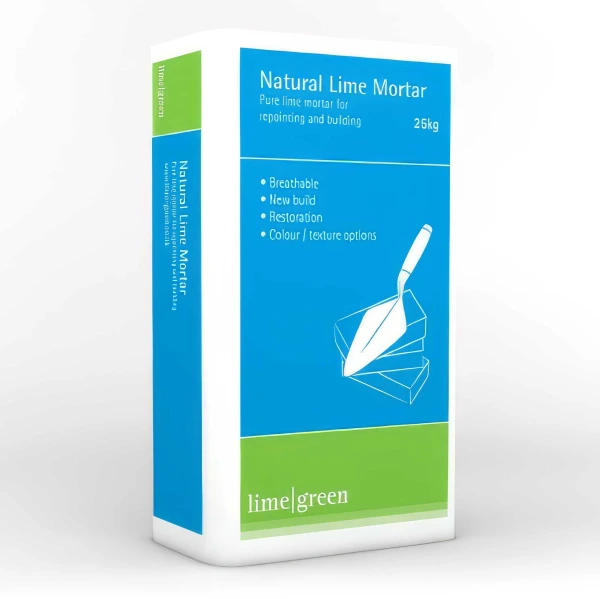
Lime Green Natural Lime Mortar
Product Overview
Main purpose
General purpose lime mortar that maintains the breathability of the wall. Typically used for bedding bricks/blocks and pointing or repointing porous masonry where a balance of good breathability and durability is required.
Use it on
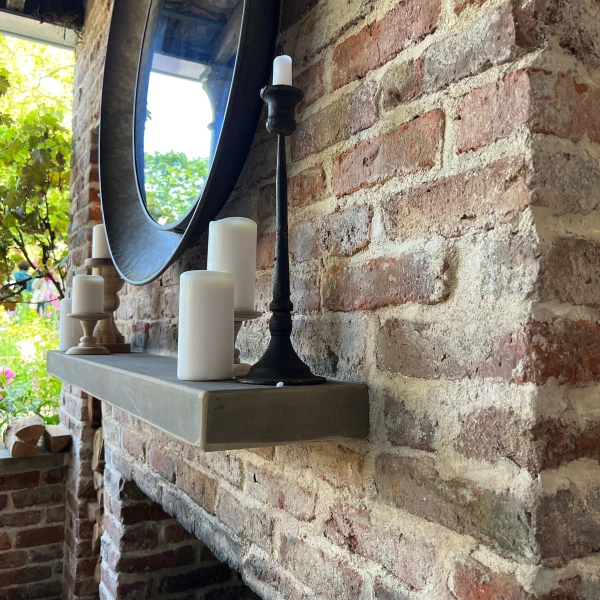
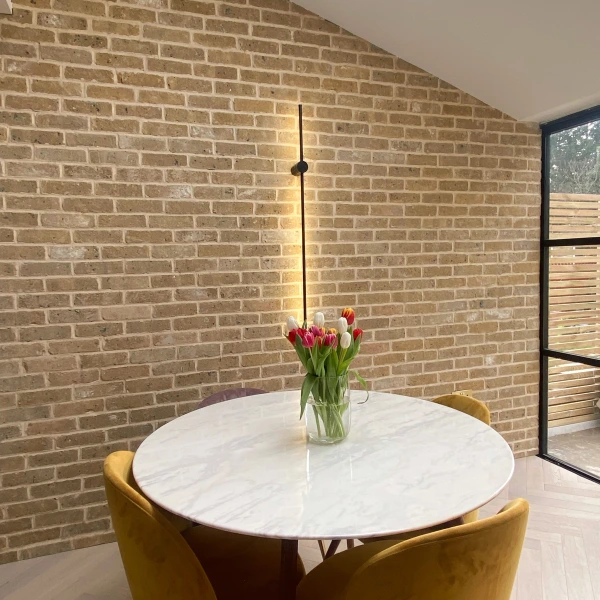
Internal or external solid brick, stone or masonry walls. This includes external garden walls, and retaining walls.
Overview
Natural Lime Mortar offers high levels of elasticity and excellent durability due to its natural resistance to salts and frost. Compared to other typical lime mixes, it is faster setting and stronger, but still softer and slower than cement mixes.
Where to use it
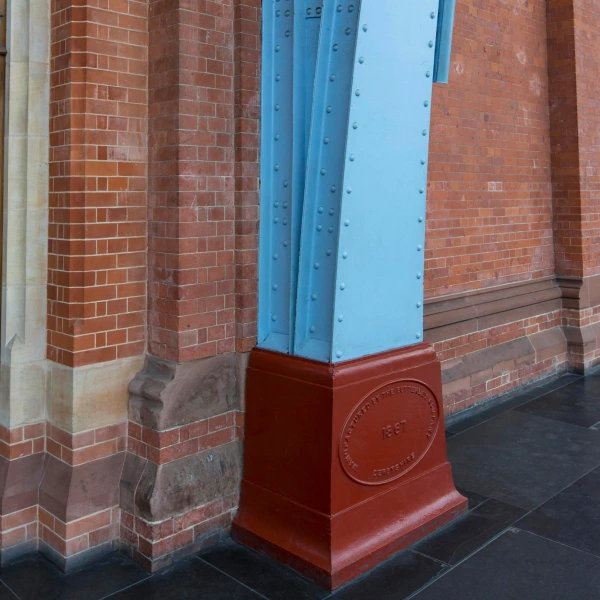
Lime Green Natural Mortar can be used internally or externally on solid Brick, stone, or masonry walls. This includes freestanding garden walls and retaining walls. It is compatible with most historic buildings.
What it does
Lime Green Natural Mortar is a salt and frost resistant, breathable (vapour permeable) lime mortar used to repair pointing, stone or brickwork on old buildings. Also, can be used for bedding bricks/blocks, patch repairs of weathered masonry, and dubbing out of solid masonry walls. It is stronger and faster setting than other typical lime mixes yet remains slower and softer than cement mixes.
How it works
Made with traditionally burnt limes from historic kilns, it replicates historic mortars traditionally referred to as feebly hydraulic or “grey lime”. Containing crushed chalk and carefully graded sand, Natural Lime Mortar offers durability, resistance to salt and frost, and excellent levels of elasticity.
Why we love it
Natural Lime Mortar is a versatile capillary active, vapour permeable and durable lime mortar. It has excellent elasticity and is compatible with most historic masonry.
It is suitable for use with pointing guns or traditional pointing tools.
Features
- Natural resistance to salt and frost
- Compatible with most historic buildings
- Fast setting and strong with excellent elasticity
- Can be used with pointing guns or traditional tools
- Breathable (vapour permeable mortar)
Benefits
- Natural Lime Mortar provides improved performance in harsh environments with its natural resistance to salts.
- Frost resistance helps prevent structural failure by maintaining structural strength with no crumbling over time.
- Natural Lime mortar can be applied using a pointing gun for faster application.
- Allows moisture within walls to evaporate helping prevent structural damage and damp.
Questions
There are currently no questions and answers published for this product
Technical Details
Key Technical Data
Installation Guide
Preparations
Wear eye protection/protective gloves/protective clothing.
Remove all cement or other non-original or inappropriate mortars. Misting the surface using a spray bottle to dampen the surface is essential to enable the new lime mortar to adhere correctly.
Add 4.5 litres to 5.5 litres of clean water per 25kg bag of dry mortar. Mix for 3-10 minutes using a mechanical mixer. Mix the Lime Green Natural mortar to a sticky consistency rather than a wet texture. If the mortar can stick to plastering tools when turned upside down, it's generally considered ready for application.
Installation Method
Apply the mortar when the temperature will be consistently between 5 and 30°C for the duration of the installation. Use a plasterer’s hawk for the mortar during installation.
Bedding bricks, stone or blockwork
Mist the surface with clean water before application. Aim for a consistent 10mm bed joint and plan for approximately 1kg of dry mortar per brick. Use a flat trowel and a Plasterer’s hawk (plastering hand board). Spread the mortar on the hawk, then scoop it up and spread it across your prepared, misted surface. Press your bricks, stones or blocks firmly down into the 10mm wet mortar bed to glue them into position.
Repointing deteriorated mortar joints
Mist the surface with clean water before application. When repointing, Lime Green Natural Lime Mortar should only be used above damp coarse levels (to avoid bridging the damp course with mortar and causing it to fail) and below roof lines (not suitable for repointing chimneys).
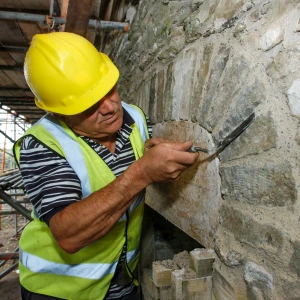
The mortar joints (gaps between bricks/stones) must be raked out using a mortar pick or joint raker to a depth of 20mm or twice as deep as the width of the joint (whichever is greater). A single 25kg bag covers approximately 3-4m² of brickwork, or 1-2m² of stonework. Use a pointing iron or spatula that matches the width of the mortar joint to avoid smearing and making a mess of the front face of the masonry. Once applied into the joint, let the sticky mortar stiffen up slightly before final tool work. Press the mortar firmly and deep into the raked out mortar joint using your pointing iron/spatula, or by firmly beating the joint with a stiff-bristled brush. Scrape the joint with your pointing iron/spatula or brush it with a soft brush to create a rough, open texture. This textured surface helps the mortar cure and harden over time.
Repairing damaged wall sections
Mist the surface with clean water before application. Keep your patch repairs to a maximum thickness of 20mm per layer to prevent sagging. Plan for approximately 7kg of dry mortar per m² for brick patches and 20kg per m² for deep stone patches. Using a trowel, press the sticky mortar firmly into the cracked or broken section. If the damage is deeper than 20mm, apply the mortar in multiple layers. Let each layer stiffen up before adding the next layer on top. Lightly brush the damp surface with a soft brush to match the surrounding wall texture.
Dubbing out surfaces (flattening uneven walls)
Mist the surface with clean water before application. Using a flat trowel, apply in 10-20mm thick layers. If the wall has hollows deeper than 20mm, to avoid cracking, shrinking and structural failure, build up the surface in multiple applications. Wait 24-48 hours between layers depending on the temperature and season. Spread the sticky mortar into the dips, voids and holes, then flatten until all the mortar bridges the low spots, leaving an even surface ready for your final finish. The proudest stones should remain visible.
Clean-up
Once a project is completed, clean tools with plenty of water. Any spilled powder should be vacuumed up using a machine with appropriate filters.
Curing times and post-application protection
Hang damp hessian sheets or frost fleece directly in front of your masonry for 2-5 days to guard against frost, driving rain, wind or intense sun until it cures. Low temperatures slow down curing, so leave the protection in place for longer in cold weather.
If the weather is warm or windy, the mortar may dry too quickly, so it needs to be kept damp for up to 10 days.
Lightly mist-spray the surface with clean water. This helps to avoid cracking and crumbling.
Allow 30 days for the surface to be hardened sufficiently, and 90 days in total to fully cure and achieve maximum durability.
Drying times will depend on the amount of mortar used. Deep filling will take longer to cure compared to thinner applications.
Cured surfaces typically shift to a lighter, more consistent colour tone over time, and touching it with a finger will not leave an impression.
Lime Green Natural Lime Mortar is not intended to be painted, although a limewash may be applied to a lime-pointed wall surface after the surface has sufficiently hardened.
Storage
When stored in a waterproof, airtight container, the mortar will have a maximum shelf-life of 12 months. Site storage conditions will result in a shorter shelf-life.