Substrates
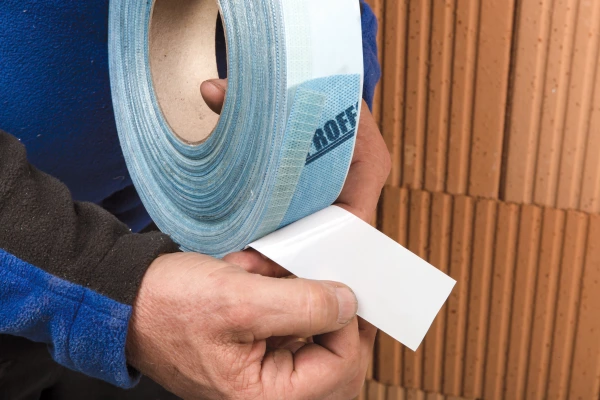
Clean subsurfaces before applying tape. Adhesion is not possible on frozen surfaces. There must be no water-repellent substances (e.g. grease or silicone) on materials to be bonded. Subsurfaces must be sufficiently dry and stable.
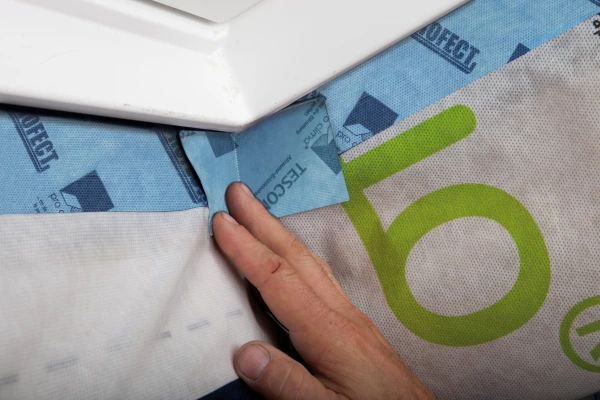
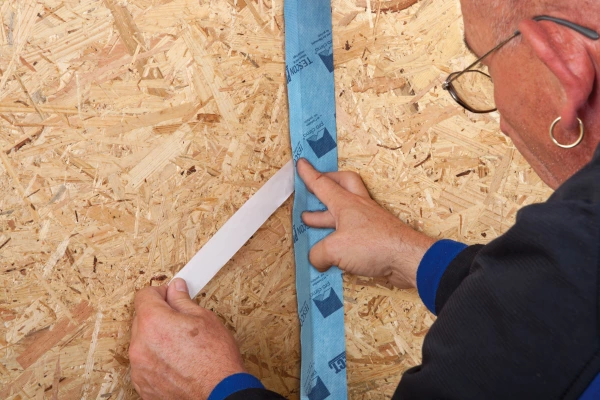
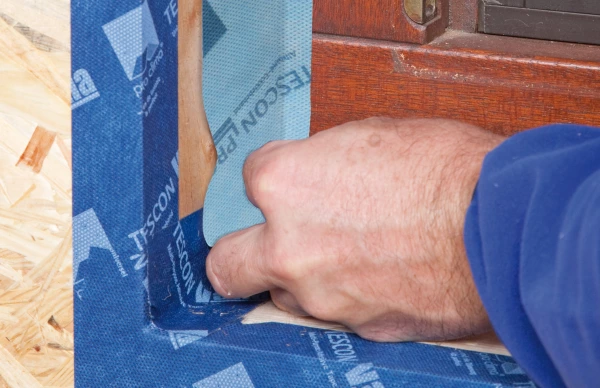
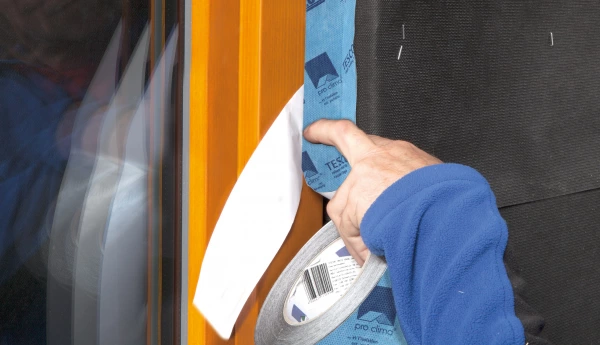
Permanent adhesion is achieved on all pro clima interior and exterior membranes, on other vapour-check and airtight membranes (e.g. those made of PE, PA, PP and aluminium) and on other underlay and wall lining membranes (e.g. those made of PP and PET). Bonding and joints are possible with planed and painted wood, hard plastics and metal (e.g. pipes, windows etc.) and hard wood-based panels (chipboard, OSB, plywood, MDF and wood-fibre underlay panels). Pre-treatment with TESCON PRIMER is required in the case of adhesion to wood-fibre underlay panels or on smooth, mineral subsurfaces. Concrete or plaster subsurfaces must not be sandy or crumbling. The best results in terms of reliability are achieved on high-quality subsurfaces. It is your responsibility to check the suitability of the subsurface; adhesion tests are recommended in certain cases.
Pre-treatment with TESCON PRIMER is recommended in the case of subsurfaces that have insufficient stability.
General conditions
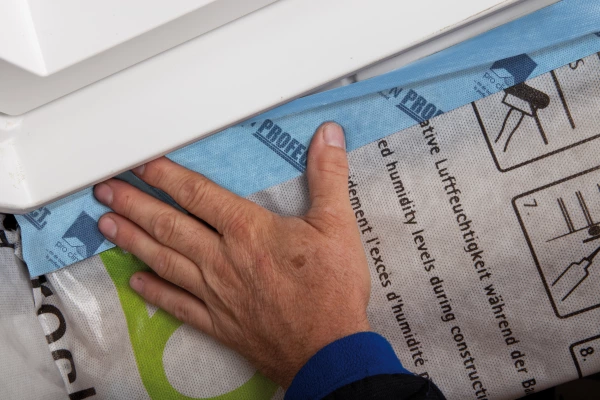
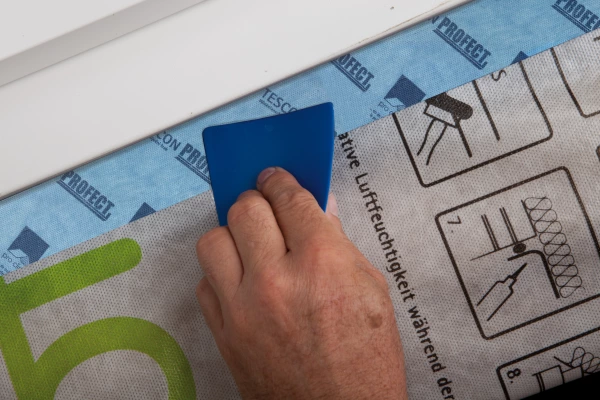
Taped joints must not be subjected to tensile forces. Once membranes have been taped, the weight of the insulation material must be supported by laths. Adhesion should be supported by additional laths, if necessary. Press firmly to secure the adhesive tapes in place. Ensure that there is sufficient resistance pressure. Windproof, airtight or rainproof bonding can only be achieved on vapour-check or underlay/facade membranes that have been installed without folds or creases. Ventilate continuously and systematically to prevent build-up of excessive humidity; use a dryer if necessary. When plastering, please observe the recommendations of the plaster manufacturer for non-absorbent subsurfaces. A bonding course may be necessary.

")
")


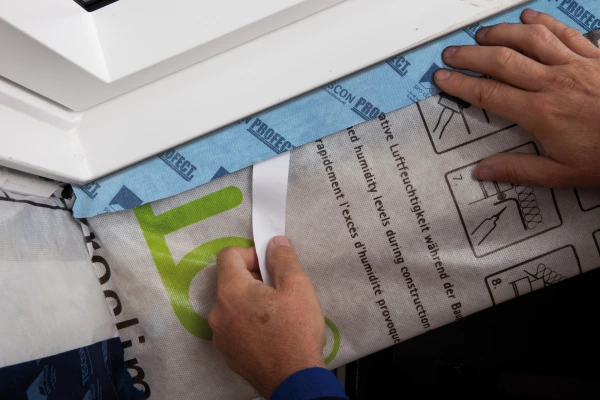
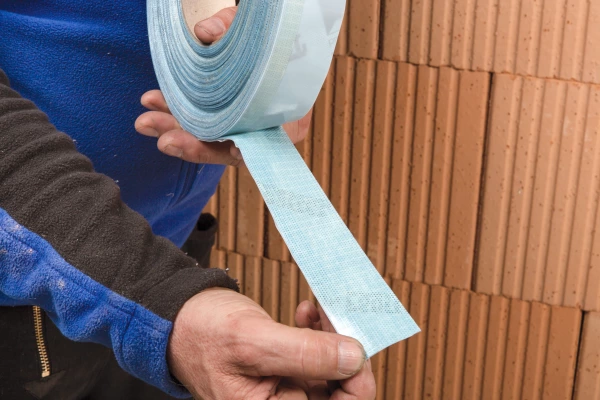
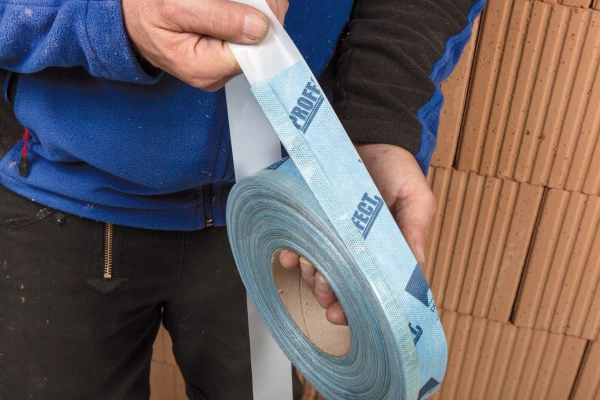
 and Tescon Profect 60mm (with 25 + 35mm release strips)")
")
")


 and Tescon Profect 60mm (with 25 + 35mm release strips)")
")
")


 and Tescon Profect 60mm (with 25 + 35mm release strips)")