Go to Section
- Introduction
- Ventilation Requirements
- Before You Start
- Health and Safety Considerations
- Materials Needed
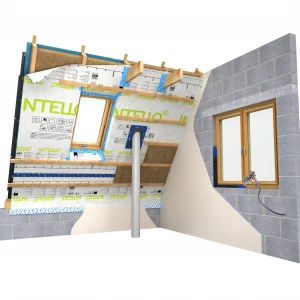
- Install Airtight Membrane Intello Plus
- Install Flexible Insulation
- Install Windtight Membrane over the Insulation
- Going the Extra Mile: Insulating under each joist
- Who can install this for me
- How do I buy the materials
Introduction
If the conditions are appropriate, and accessibility is adequate, insulating from below presents the opportunity to significantly reduce heat loss, reduce energy costs and improve thermal comfort without having to remove or damage internal finishes.

Our Installation Guide is available as a PDF
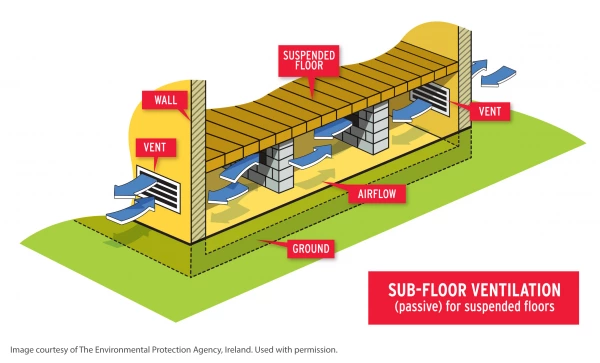
Ventilation Requirements for Suspended Timber Floors
With all suspended floor systems, it is essential that the space underneath the floor is adequately ventilated. This is normally achieved via air bricks installed on two opposing external walls.
Building Regulations set out the requirements for ventilation and NHBC provides further guidance. In summary, the requirements are:
- There must be at least 150mm of ventilated space between the underside of the floor and the ground. This is measured from the top of any ground coverings to the lowest point of the floor (or insulation under the joists if fitted).
- The underside of any wall plates must be at least 75mm above the ground covering.
- Air vents in external walls should be positioned so ventilating air can freely move between opposite sides of the building and can ventilate all parts of the space.
- On each external wall, air vents must be no more than 2m apart.
- Air vents should be at least 450mm away from a corner
- The vent openings should be either 1500mm² per linear metre of external wall, or 500mm² per square metre of floor area. Whichever area is the greatest will be the minimum amount of ventilation required.
- The vent opening is the total area of the holes in air bricks through which air can pass.
- An external wall is a wall on the perimeter of the building with the outside world on the other side. This does not include walls between neighbouring properties.
- The walls between individual rooms in the building and dwarf walls supporting the floor joists can be ignored; these typically have ventilation gaps to allow air to flow through.
- The floor area is the total area of ground floor with adjoining suspended floor; it would exclude any solid floors. Any suspended floors not connected to each other are treated as different floors and each would have its own specific ventilation requirements.
- Vents should incorporate suitable grilles to prevent vermin entering the sub-floor, and the grills must not resist the air flow.
If these requirements cannot be achieved by adding new vents or reconfiguring existing vents, mechanical ventilation will be required.
- A push-pull ventilation system with at least two fans is needed, one fan to pull air in and one to push air out.
- If vent openings can only be installed on one wall, the mechanical ventilation must use ducting to place vent openings at the opposite side and create airflow across the entire space.
- Any ducting or ventilation pipes used must be at least 100mm diameter
If the exterior ground level is high enough to prevent vents being installed straight through the wall, an offset (periscope) ventilator can be used. This allows the interior and exterior openings of the vent to be at different heights to account for the different ground levels.
Moisture levels under the floor
Moisture levels in the soil must also be considered. If the water-table is high, additional measures may be required to limit moisture. These can include:
- Compact the ground and install a Damp Proof Membrane (DPM) then cover with concrete
- Compact the ground and apply a 20mm or thicker layer of sand (a blinding layer), then apply a DPM, then apply another 20mm or thicker layer of sand.
- The DPM should be laid flat. It does not need to be taped to the perimeter.
- The DPM should overlap by 100mm if not applied in one piece
If the floor is highly susceptible to moisture, converting it to a solid floor should be considered. This is typically a concrete slab installed over hardcore, or compacted foam glass aggregate with lime-based screed over the top.
For further guidance please contact our Technical Department.
Before You Start
It should be noted that in geographic areas susceptible to flooding alternative solutions should be sought and this should be discussed with our technical team before starting any installation work.
If the subfloor is exposed soil and no damp proof membrane (DPM) is installed on top of it, contact our technical team for guidance.
If there are any signs of dry or wet rot, seek professional guidance immediately. Any existing penetrating moisture due to poor maintenance of water goods, drainage or damaged pointing or plaster externally must be addressed before commencing.
Vents are installed in opposite external walls to provide adequate circulation of fresh air to keep timbers dry and prevent decay. Where tassel/sleeper/dwarf walls are present under the floor, they typically include ventilation gaps in the block work to ensure adequate air circulation. If the installation of under floor insulation results in this cross-ventilation being blocked or reduced, an additional ventilation provision should be provided. This may include the removal of bricks, installation of additional external vents, or tapering the thickness of the insulation near the walls to maintain the original ventilation rate. Airtight sealing of membranes to tassel/sleeper/dwarf walls would use the same method as for sealing to external walls.
Check and note the following:
- Condition of the floor structure: ensure it is free from rot (dry and wet rot) especially at the abutment to any external walls, tassel/sleeper/dwarf walls
- Evidence of existing dampness, staining or condensation on surfaces under the floor
- Evidence of infestation (e.g. woodworm bore holes or active infestation)
- Type, suitability and condition of floor timbers, substrates and any openings
- Type and condition of floorboards or pre-existing breather membrane
- Any room space ventilation requirements.
If there are any issues or questions raised by the checklist, contact our technical team for guidance.
Health and Safety Considerations
When working under the floor, it is the responsibility of the installer to undertake a comprehensive risk assessment before any works are undertaken. Always wear strong suitable clothing and a dust mask/respirator. It is also important to ensure the crawlspace is well ventilated in accordance with guidance set out in BS 5250. Use a portable light to see clearly and beware of any sharp points, nails and splinters on the subfloor and above your head. Wearing a hard-hat or some form of head protection is recommended. Care should be taken in the event asbestos or other potentially harmful materials are present upon inspection.
If the property is located in a high-radon area, a radon barrier may need to be installed. Presence of radon gas makes the requirement for ventilation in subfloor areas even more vital to prevent its build up. Where radon is a serious issue, the installed insulation may need to incorporate a membrane capable of preventing the gas from leaking into the property (regardless of whether this was in situ prior to the installation) or other remedial measures such as sumps and positive ventilation. Further details can be found on the following links: ukradon.org, epa.ie
Materials Needed
Please note the following key materials needed and their roles:
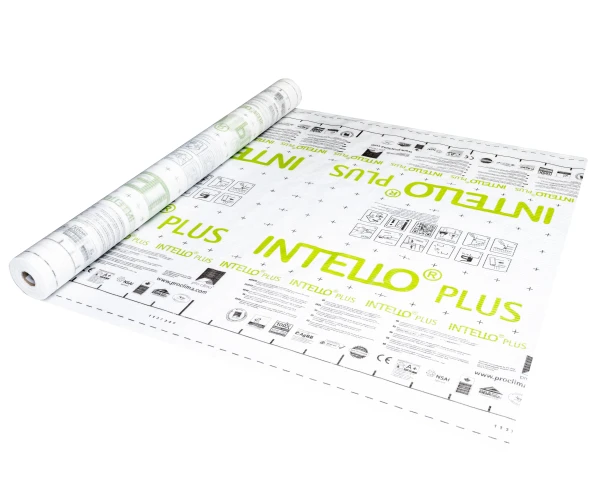
- Pro Clima Intello Plus intelligent airtight vapour control membrane
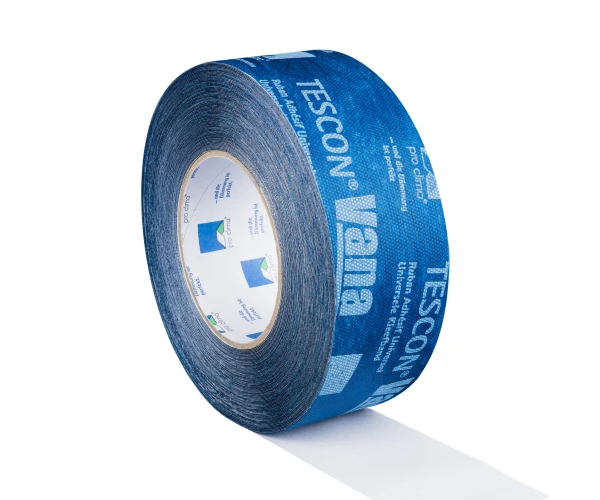
Provides airtightness and vapour control - Pro Clima Tescon Vana airtightness tape
For sealing membrane overlaps and sealing damaged areas of Intello Plus and Solitex Plus - Pro Clima Contega Solido SL plasterable tape
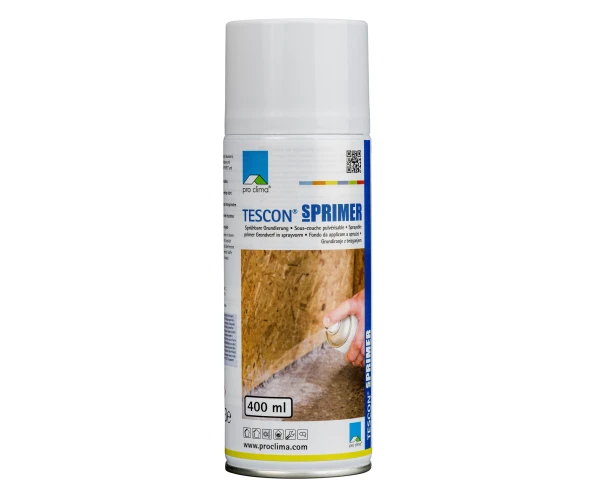
For sealing membranes to perimeter masonry walls - Pro Clima Tescon RP PRIMER / Tescon Sprimer
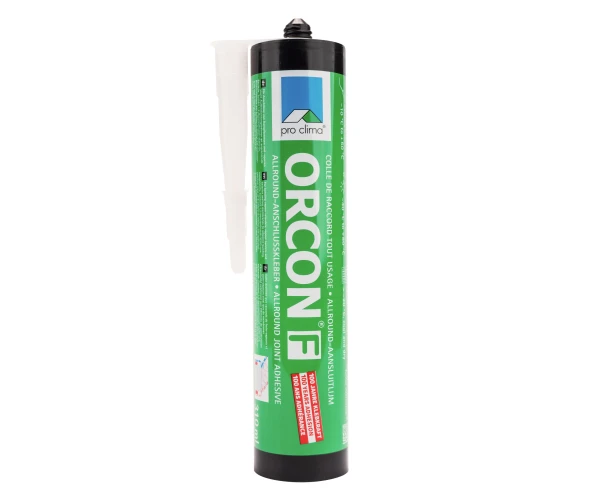
To prepare rough/uneven surfaces prior to using Contega Solido SL to seal membrane to perimeter wall. - Pro Clima Orcon F airtight adhesive
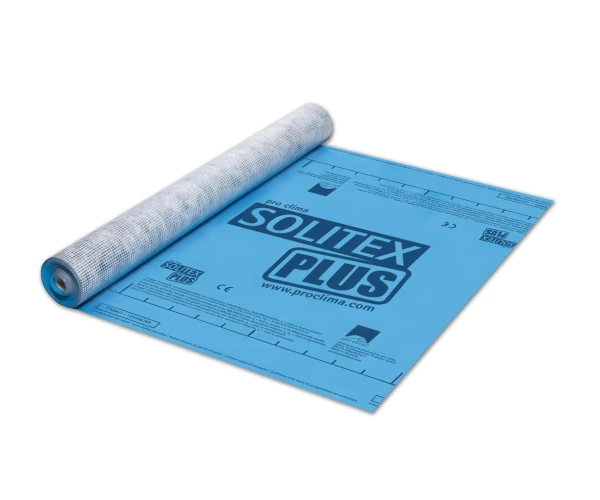
For sealing Intello Plus to rough floor joists - Pro Clima Solitex Plus reinforced breathable membrane
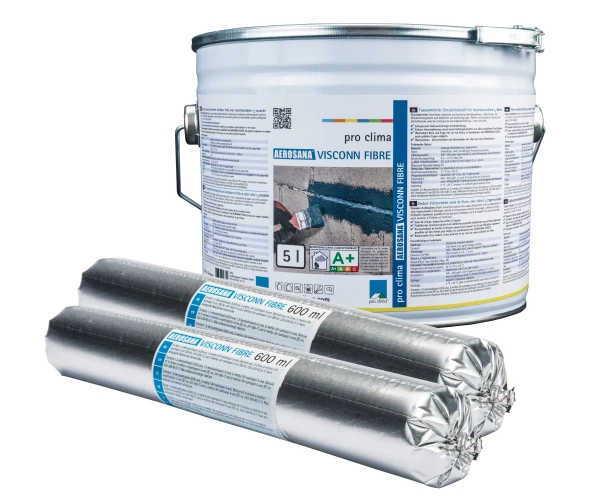
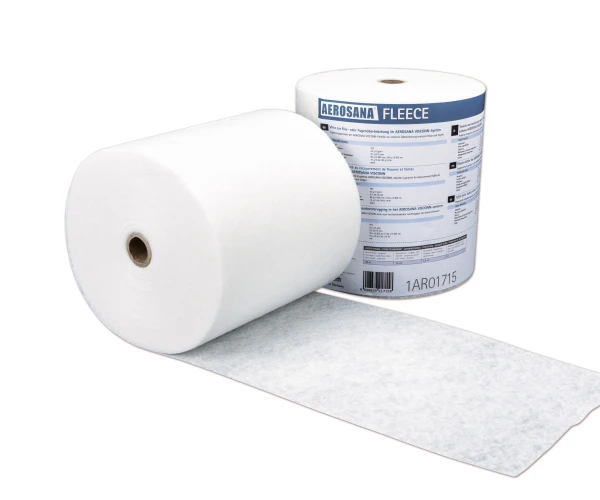
Windtight breathable membrane applied under insulation to limit air movement through the insulation from below (thermal bypass) and to allow the assembly to breathe - Pro Clima Aerosana Visconn Fibre (depending on floor detail)
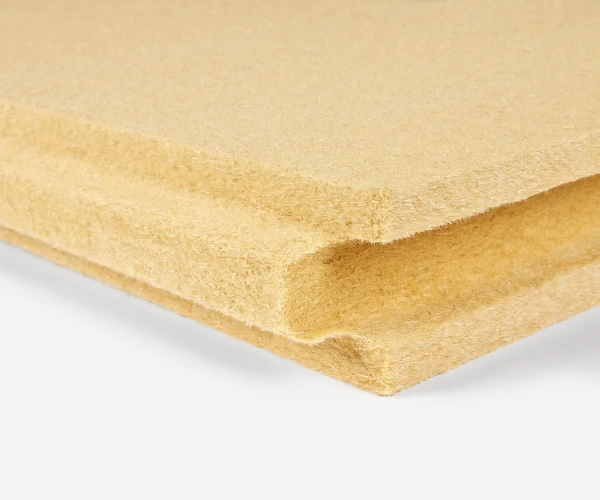
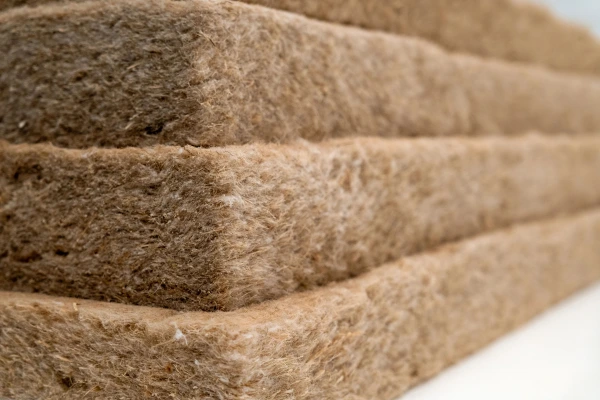
Airtight fibre reinforced paint. Aerosana Visconn Fleece may also be required depending on specific circumstances. - Gramitherm, Gutex Thermoflex, IndiBreathe Flex or Thermafleece Cosywool (Thermafleece Cosywool is only available in Ireland) natural, breathable insulation
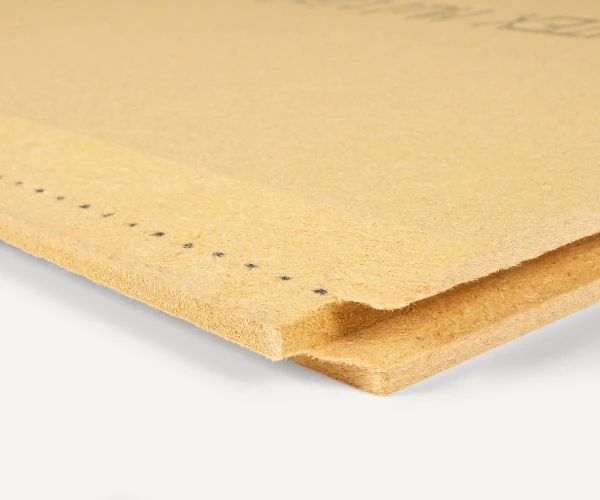
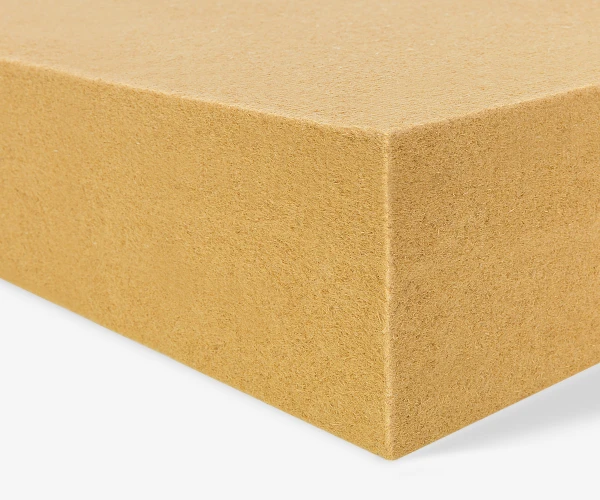
Natural breathable insulation for installation between joists - Gutex Multitherm or Gutex Multiplex Top (optional)
Breathable rigid woodfibre insulation for installation below joists for additional thermal benefit if space permits
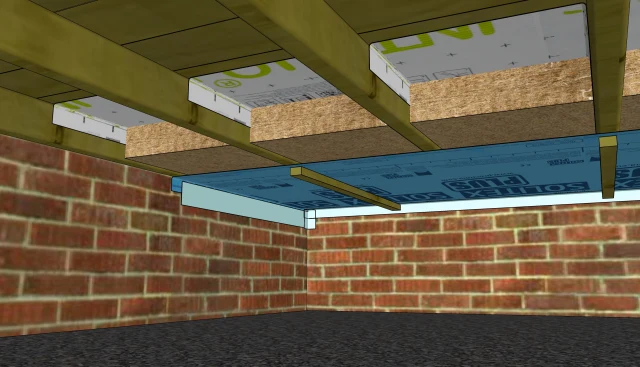
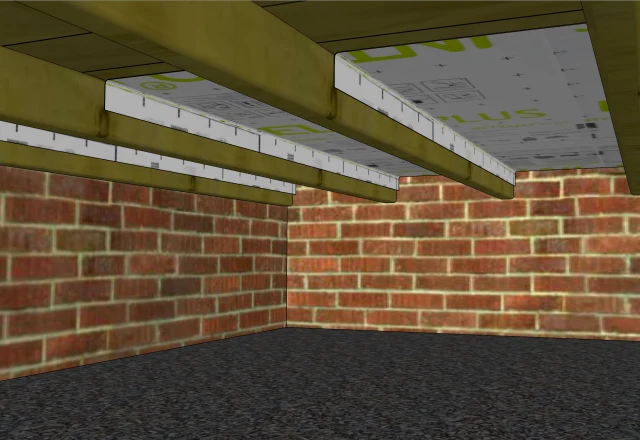
Install Airtight Membrane Intello Plus
When floorboards and skirting cannot be removed, installation of underfloor insulation from underneath (within the crawlspace) is the next most common method. This brief guide will highlight the method of sealing for airtightness and vapour control as well as offering some helpful tips.
When installing airtightness from underneath, Pro Clima Intello Plus intelligent airtight vapour control membrane is recommended instead of Pro Clima DA membrane. This membrane is available in 30m² or 75m² rolls and offers an effective and robust way of managing moisture within the floor build-up.
Please refer to fig. 1 and fig. 2 for diagrams of the finished floor build up.
First measure the gaps between the joists and make sure any loose material, dirt and dust is brushed off the joists and walls. Intello Plus should then be cut into strips and installed between each floor joist. The strips should be stapled with 8mm deep x 10mm wide galvanised staples to hold them up against the underside of the floorboards (see Fig. 1). If a pneumatic stapler is available for you to use, this will simplify and speed up the stapling process and lead to less risk of damaging the membranes while working in a confined area.
Each strip should be 100mm wider than the gap between joists. This gives 50mm of extra membrane at the edges for sealing it to the joists. The roll of membrane is 1.5m wide, so 500mm x 1.5m strips are easy to make and handle under the floor. Or, to reduce the number of overlaps or strips required, you can unroll a length as long as the joists and then cut that long-ways into three full-length strips.
The staples can be applied directly into the floorboards or into the tops of the joists to hold the Intello Plus in place. Please note, if Intello Plus is stapled directly to the floorboards and the floorboards are later removed, the membrane will be damaged and need replacing or repair.
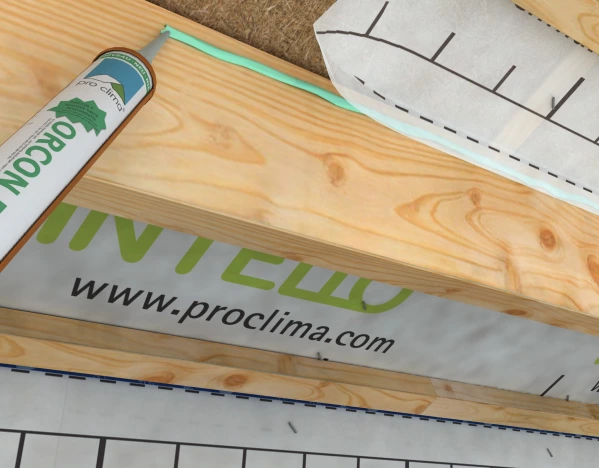
Starting in one corner of the room, the first strip of membrane should be installed parallel to the joists as close as possible to the wall without it folding down onto the wall. Press the membrane between the joists so there is approximately 50mm of membrane extending down onto each joist and the membrane goes right into the corners. Then staple it to hold it in place. Lift the edge and apply a continuous 5-8mm bead of Orcon F Flexible Airtight Sealant to the joists approximately 25mm below the floor level and then lightly press the membrane onto the bead to make contact and create an airtight seal. It is important not to flatten the bead completely to ensure long-term elasticity and flexibility. This can be done by pressing either side of the bead rather than directly on it. If not using one long strip of membrane, each strip should overlap the previous strip by at least 100mm. Then seal the overlap with Tescon Vana Airtight Tape.

Once the membrane is sealed to the joists with Orcon F, the other edges (the short edge in contact with the wall) can be sealed to the perimeter wall with Solido SL Airtight tape as detailed in our "from above" installation guide. This method helps avoid tricky folds or cuts at all the wall/joist/floor corners.
If there is an OSB or Plywood board under the finished floor, the OSB or Plywood can act as a reliable airtightness layer in conjunction with Aerosana Visconn Fibre airtightness paint and Pro Clima sealing tapes. It may be more practical to apply an Aerosana Visconn Fibre airtightness paint directly to the underside of the OSB/Plywood. Aerosana Visconn Fibre can be used to seal the boards to adjacent joists and adjoining walls to create a continuous airtightness layer. It is important to strictly follow installation guidelines for Aerosana Visconn Fibre. Where gaps of larger than 20mm occur a suitable Pro Clima airtight sealing tape such as Tescon Vana can be used to tape over the large gap or Aerosana Visconn Fleece can be used and then painted over with Aerosana Visconn Fibre (following the Aerosana Visconn Fleece installation guide precisely).
How do I know the airtightness layer has been applied correctly?
Following the installation of the airtightness layer it is important to carry out a visual inspection to ensure any gaps or unsealed areas are sealed as well as possible. Once the insulation is installed it will no longer be possible to access the airtightness layer.
The most effective way to find leakages at this stage is to carry out a positive airtightness test. This induces a positive air pressure in the room above with a high-powered fan (i.e. a blowerdoor) and creates the conditions at which the installer below will more easily locate any leaks which can then be rectified.

Install Flexible Insulation
Once the Intello Plus airtight membrane has been installed, Gramitherm, Gutex Thermoflex, IndiBreathe Flex or Thermafleece Cosywool (Thermafleece Cosywool is only available in Ireland) natural, breathable insulation can be friction fitted between the joists. Measure the gap then cut the insulation 20mm larger than needed. The insulation can then be squeezed into place. Note, it can be compressed by upto 10% without affecting the thermal performance.
To help hold the insulation securely before the weathertight membrane is installed, you can use twine or make 50mm wide straps from off-cuts of membrane and staple that between the joists to pin the insulation in place.
Install Windtight Membrane over the Insulation
Once the insulation is installed, Solitex Plus windtight breathable membrane should be installed with the blue side facing you perpendicular to the joists (across the joists) and stapled to the underside of the joists using 8mm deep x 10mm wide galvanised staples.
The very first length of membrane should be positioned perpendicular to each joist and right up against the wall with as little gap as possible between the wall and membrane. Where the wall is not perfectly straight, you can cut the membrane around any obstacles and make it follow the contour of the wall. You need to ensure the long edge of membrane does not fold down onto the wall at any point. When finished, you should end up with the start and end of each length of Solitex Plus folding down 300-500mm onto the wall, with the perimeter edges flat and close as possible to the wall (not folding down).
As each length of Solitex Plus is laid out, you should overlap the previous one by at least 100mm. Once the entire area is covered with Solitex Plus, the overlaps can be sealed airtight with Tescon Vana airtight tape.
The perimeter can now be sealed. Use Solido SL to tape the membrane to the wall along all edges. For the corners, use the method described in the "from above" installation guide.
For secure long-term support of the weight of the insulation, a timber batten (e.g., roofing batten or 2x1) should be fixed to the underside of the joists. This batten may be positioned to follow the direction of the joists, covering over all the staples from end-to-end or counter to the joists.
Going the Extra Mile: Insulating under each joist
Including insulation between the joists will significantly reduce heat loss, nevertheless, the exposed length of the floor joists is a repeating thermal bridge where significant heat transmission can still occur. When one considers at least 11% of the average suspended floor is represented by the floor joists, insulating these joists will ensure complete thermal continuity over the whole floor area.
To offset the impact of this thermal bridge, if space and headroom is available, a suitable insulation may be applied directly to the underside of the floor joists. It is important to bear in mind that this will add additional weight to the floor joists.

In such cases a breathable woodfibre insulation such as Gutex Multitherm or Gutex Multiplex Top may be mechanically fastened to the underside of the floor joist (see Fig.3 and 4). These may be held in place with an additional batten or a thermally broken mechanical fixing such as Fischer Termofix 6H-NT.
These Gutex boards are inherently windtight and weatherproof at all tongue and groove joists. Butt joints (e.g. where the board is cut to fit) must be primed with Tescon RP Primer or Tescon Sprimer and taped with Tescon Vana.
The perimeter of the Gutex boards can also be sealed using Contega Solido SL to tape the Gutex board to the wall along all edges. For the corners, use the method described here in the "from above" installation guide.
This will not only improve the overall U value of the floor and offset thermal bridges, but it can also act as an effective breathable windtightness layer, negating the need for the Solitex Plus breathable membrane to be applied.

Who can install this for me
We supply the products mentioned in this blog post and can provide technical support whenever you may need it. But, we don't provide an installation service for the methods described above.
If you don't wish to do this as a DIY project, we would recommend you find a local joiner/builder that you are happy to work with and ask them to do the installation for you. We are happy to confirm or clarify the installation methods with them via our technical support team.
Please note: we don't have a list of recommended installers that we can send you; you will need to find a tradesperson locally yourself.
Alternatively, you could make this a DIY project. Often the best installations are completed by homeowners who have taken time to install materials correctly. The most important skill needed is care and attention to the intricate details. You must also follow the appropriate health and safety measures at all times. We would be pleased to support you with further installation information if DIY is an option for you.
Read our step-by-step installation guide or you can download the PDF version here.
How do I buy the materials
All the materials needed can be purchased on this website. Links to each product can be found in the copy above or at the end of the blog post (with pictures).
To calculate quantities needed, you will need to know the total square meterage of the floor being insulated, the depth of the joists, the distance between joists, and the length of the perimeter of the room (e.g. 4x5m room: perimeter = 4+4+5+5 = 18m).
As you will be glueing Intello Plus between each pair of joists with Orcon F Airtight glue, you will need to know how many joists you have and how long they are.
These values can then be used with the quantity calculators that can be found on each product's webpage.
Total square meterage is needed to calculate the quantity required of:
- Pro Clima Solitex Plus membrane
- Pro Clima Intello Plus membrane
- IndiBreathe Flex insulation
- Airtight tape for sealing membrane overlaps
Multiply the total length of all joists by two and use that to calculate the amount of Orcon F needed.
The depth of the joists is used to decide what thickness of insulation is needed (e.g. 100mm).
The distance between joists is used to know what width of insulation is needed (usually 375mm wide insulation for floor joists with approx. 400mm centres).
The perimeter of the room is used to calculate how much tape is needed to seal around the edges.
If you have any problems selecting materials or quantities, contact our team with all your dimensions and sizes - we will be happy to help!